
RV Roof Sealant and Coating: Which One Your Roof Needs
How to identify your roof membrane, choose self-leveling or non-sag lap sealant, and know when to recoat the whole roof
Last updated: June 20, 2026
Overview
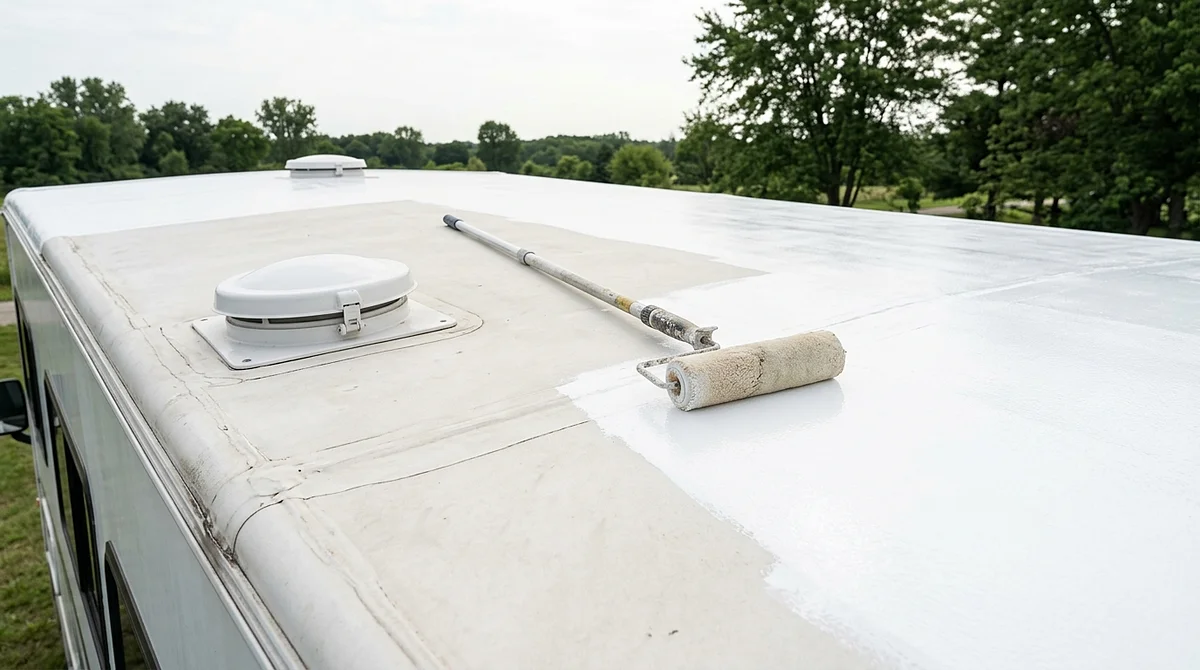
An RV roof needs service in one of three situations: an active leak at a seam or penetration, a dull or chalking surface across the whole roof, or routine seasonal maintenance. Each points to a different fix, and the decision is the same one every time. If the membrane is sound and only the joints have opened up, you reseal the affected seams and penetrations. If the surface is aged, chalking, or wearing through across the whole roof, you resurface the entire top.
That distinction is the difference between a sealant and a coating. A sealant reseals seams, edges, and penetrations, or patches a small damaged area. A coating resurfaces the whole membrane. This guide covers how to tell which one your roof needs, then the products, quantities, and surface preparation each path requires. For the chemistry behind roof coatings, see the elastomeric roof coating guide.
Match the fix to the failure. A tube of lap sealant closes an open seam but will not restore a chalking membrane, and a full coating is unnecessary expense on a roof that needs a single penetration resealed.
Identify your roof membrane
Identify the surface on your roof before selecting any product, because compatibility is determined by the membrane underneath. RVs use four roof types, and they look and feel different:
- EPDM rubber: a thin, flexible rubber sheet, smooth and slightly tacky. The exposed side is usually white or light gray, and the underside is typically black. Common on many travel trailers and older coaches.
- TPO: a single-ply thermoplastic membrane, usually the same color through its full thickness with a faint texture. It is stiffer and more plastic-feeling than EPDM.
- Fiberglass: a hard, rigid gel-coat surface, smooth and glossy rather than rubbery. It does not flex underfoot.
- Aluminum: a formed metal roof, common on older and vintage rigs.
If the membrane is not obvious, the manufacturer can confirm it from the VIN or model. This step governs the next three decisions, because primer, sealant, and coating all depend on the membrane underneath.
Self-leveling vs non-sag lap sealant
Lap sealant for seams and penetrations comes in two forms, selected by the orientation of the surface rather than by preference.
| Type | How it behaves | Use it on |
|---|---|---|
| Self-leveling | Flows out and settles into a smooth, continuous seal | Horizontal surfaces only: the roof deck, seams, vent flanges |
| Non-sag | Holds its shape and stays where it is tooled | Vertical and overhead surfaces: sidewalls, shroud faces, vent risers |
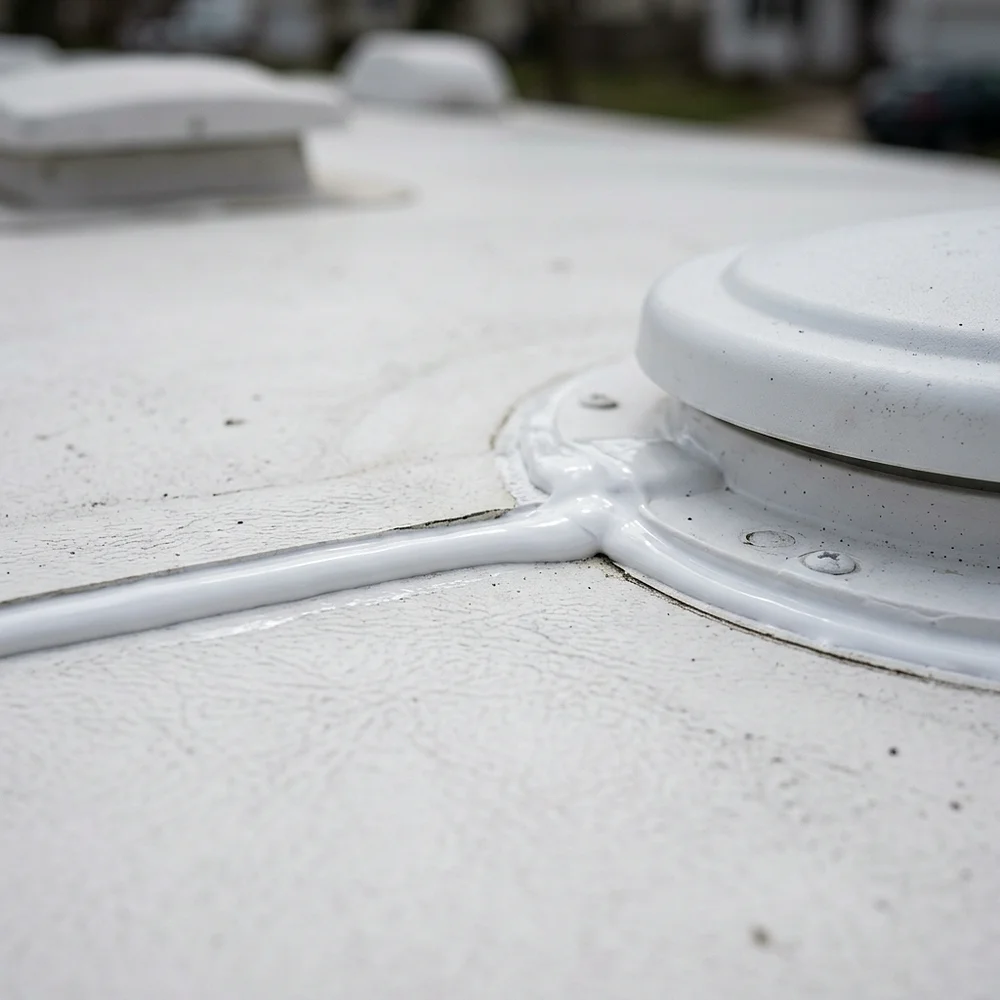
Self-leveling lap sealant is correct on flat horizontal surfaces and wrong on anything vertical, where it runs before it cures. Non-sag lap sealant holds its shape and is made for vertical and overhead work. RV leaks concentrate at a predictable set of points, and the seal at each is what these products protect:
- Roof seams and edge moldings
- Vent and fan flanges
- Skylight perimeters
- Air-conditioner shroud mounts
- Refrigerator and plumbing vent pipes
- Exposed screw heads and fastener strips
- Front and rear cap joints
- Slide-out toppers and awning rail ends
Sealant or coating: spot repair vs whole-roof recoat
Once the problem is identified as either a seam issue or a whole-roof issue, the product class follows. The three tools escalate in scope:
- Lap sealant in a tube reseals individual seams and penetrations. It is the correct product for spot repairs and routine maintenance.
- Seam tape, a peel-and-stick membrane strip, covers long, straight runs in a single pass and generally lasts longer than a bead of lap sealant on the same joint. It is harder to conform around obstructions.
- A coating system, typically a primer, a base coat, and a reflective top coat, resurfaces the entire roof. It is the right choice once the membrane is chalking, UV-worn, or leaking in more places than individual seams can account for.
Spot repair and whole-roof restoration are different jobs. A coating kit is unnecessary for a single vent, and a single tube of sealant will not resolve a chalking, UV-worn membrane.
When the whole roof needs recoating
When the membrane is past spot repair and the whole roof needs resurfacing, a complete recoat kit supplies the system in one purchase: a base coat, seam tape, and a reflective top coat formulated to work together. Review the compatibility and surface preparation sections below so the kit matches your membrane and the surface is ready before application.
The kit below covers a full roof, not a single seam. For seam-only repairs, use a tube of the lap sealant rated for your membrane.
Whole-Roof Recoat Kit


Browse the full line of roof coatings, or read about the manufacturer, AMES Research.
Recoating RVs at a dealership, service center, or rental fleet?
Volume pricing on recoat kits for RV dealers, service centers, rental and fleet operators, and mobile-home park operators. Tell us your volume and we will follow up, typically within one business day.
or call 714-248-6555 · email partners@usmadesupply.com
Compatibility rules
Compatibility is where RV roofs are most often damaged. Treat the following as fixed rules:
- Keep petroleum off rubber. Petroleum-based cleaners, conditioners, and solvents can swell and damage an EPDM rubber membrane. Clean rubber roofs only with products labeled safe for EPDM.
- Match the primer to the membrane. EPDM and TPO take a different primer than fiberglass or metal. The primer is what allows the sealant or coating to bond, and using the wrong one, or none, is the most common cause of adhesion failure.
- Confirm the product lists your membrane. A coating that performs on one surface is not automatically rated for all of them. Read the listed substrates and use the primer the product specifies, particularly on TPO, where adhesion is the harder case.
- Do not seal over cured silicone. Standard lap sealants and seam tapes do not bond reliably to cured silicone. If a previous owner used it, remove it before resealing with anything else.
When a product data sheet and an online forum disagree, follow the data sheet. Confirm the listed substrates and the required primer before purchase, and follow the prep steps exactly. Compatibility errors on a rubber membrane are usually permanent.
How much material you need
Order enough material in a single purchase, because running short mid-application leaves part of the roof exposed. Use the following as planning figures and confirm against the specific product before ordering:
- Lap sealant: a standard 10.3 ounce tube lays roughly 25 feet of bead at a quarter-inch width. A thirty-foot rig usually needs about four tubes for the edge seams alone, plus additional material for vents and penetrations.
- Coating: plan for roughly fifty square feet per gallon at the film thickness the data sheet specifies, applied in two to three coats. A five-gallon class kit typically covers an RV roof up to about thirty feet.
Surface texture, age, and absorbency all affect these figures, so the product's published coverage rate is the number to budget against.
Surface preparation, application, and cure
With coatings and sealants, surface preparation is the single largest factor in how long the result lasts. Adhesion is established before any product is applied, and most failures trace back to a surface that was dirty, damp, or unprimed rather than to the product itself.
Preparation is not the step to rush. A correctly cleaned, dried, and primed surface is what separates a recoat that lasts years from one that lifts within a season.
- Clean the work area with a cleaner labeled safe for your membrane, rinse it, and let it dry completely. A solvent wipe before sealing is common, but use the solvent the product specifies rather than whatever is on the shelf.
- Prime the surface with the matching primer whenever the product calls for one. The primer is part of the system, not an optional step.
- Work inside the temperature window on the data sheet. Most products require a dry surface several degrees above the dew point.
- Keep fresh sealant or coating out of the rain until it has cured, because an early soaking causes uneven cure and cracking.
- Apply at a consistent thickness. Thick beads cure unevenly and trap dirt, and a clean, uniform film outlasts a heavy one.
For full coating application step by step, see the how to apply elastomeric roof coating guide. This page stays focused on the RV decision rather than restating application.
Inspection and resealing
Reseal based on condition rather than a fixed schedule. Inspect the roof at least twice a year and after any major storm or low-branch contact, and reseal any spot where the sealant has cracked, lifted, pulled back from an edge, or chalked.
The life ratings printed on a product, the ten- and twenty-year figures, are laboratory values. Real service life depends on climate, UV exposure, and how the rig is stored: a roof kept in full sun needs attention sooner than one stored under cover. Frequent inspection and early repair are what keep a small open seam from becoming a delaminated roof.
Common mistakes
- Using hardware-store silicone caulk as a lap sealant. It is not formulated for RV roof seams, and once it cures, standard sealants and tapes will not bond over it.
- Cleaning a rubber roof with petroleum-based products, which swell and degrade EPDM.
- Expecting one product to do every job. Horizontal seams, vertical surfaces, long straight runs, and whole-roof aging each call for a different product.
- Sealing over peeling or contaminated old sealant instead of removing it first.
- Skipping the primer, or using a primer that does not match the membrane.
- Applying sealant or coating in thick, uneven beads, which cure poorly and add weight without adding service life.
Frequently Asked Questions
What is the best sealant for an RV roof?
There is no single best product, because the right one depends on your membrane and the job. Use self-leveling lap sealant on horizontal seams and vents, non-sag on vertical surfaces, seam tape on long straight runs, and a full coating system when the whole membrane is aged. In every case, match the product to your membrane and use the primer it specifies.
What is the difference between RV roof sealant and roof coating?
A sealant reseals seams, edges, and penetrations, or patches a small damaged area. A coating resurfaces the entire membrane. Sealant is for spot work and maintenance; a coating is for restoring a whole roof that is chalking or worn.
Can I put new sealant over old RV roof sealant?
Yes, if the old sealant is solid, well adhered, and not peeling. Clean the area and follow the product's prep first. If the old sealant is lifting, cracked, or has dirt trapped underneath, remove it before resealing.
How often should I reseal my RV roof?
Reseal based on condition rather than a fixed calendar. Inspect at least twice a year and after major storms, and reseal any spot where the sealant has cracked, lifted, or chalked. How quickly that happens depends on climate, UV exposure, and storage.
How much sealant do I need for my RV roof?
For lap sealant, a 10.3 ounce tube lays roughly 25 feet of bead at a quarter-inch width, so a thirty-foot rig usually needs about four tubes for the edge seams plus additional material for penetrations. For a coating, plan for roughly fifty square feet per gallon over two to three coats. Confirm against the product data sheet.
Is hardware-store silicone caulk okay on an RV roof?
No. General-purpose silicone caulk is not formulated as an RV lap sealant, and once it cures, standard lap sealants and seam tapes will not bond over it. Use a lap sealant rated for your membrane instead.
What sealant is safe for a rubber (EPDM) roof?
Use a sealant or coating that lists EPDM among its compatible substrates, with the matching primer. Keep petroleum-based cleaners and solvents off the roof entirely, because they can swell and damage EPDM rubber.
Self-leveling or non-sag, which lap sealant do I use?
Self-leveling on horizontal surfaces such as the roof deck, seams, and vent flanges; non-sag on anything vertical or overhead. Self-leveling sealant runs and sags on a vertical surface before it cures, which is the condition non-sag is made to avoid.
Was this guide helpful?


Recommended in this guide
RV Roof Coating and Sealant Kit
Base coat, seam tape, and elastomeric top coat